HOMEMADE RICOTTA USING NIGARI
Homemade Ricotta Using Nigari
Rated 4.8 stars by 4 users
Category
appetizer
Prep Time
5 minutes
Cook Time
20 minutes
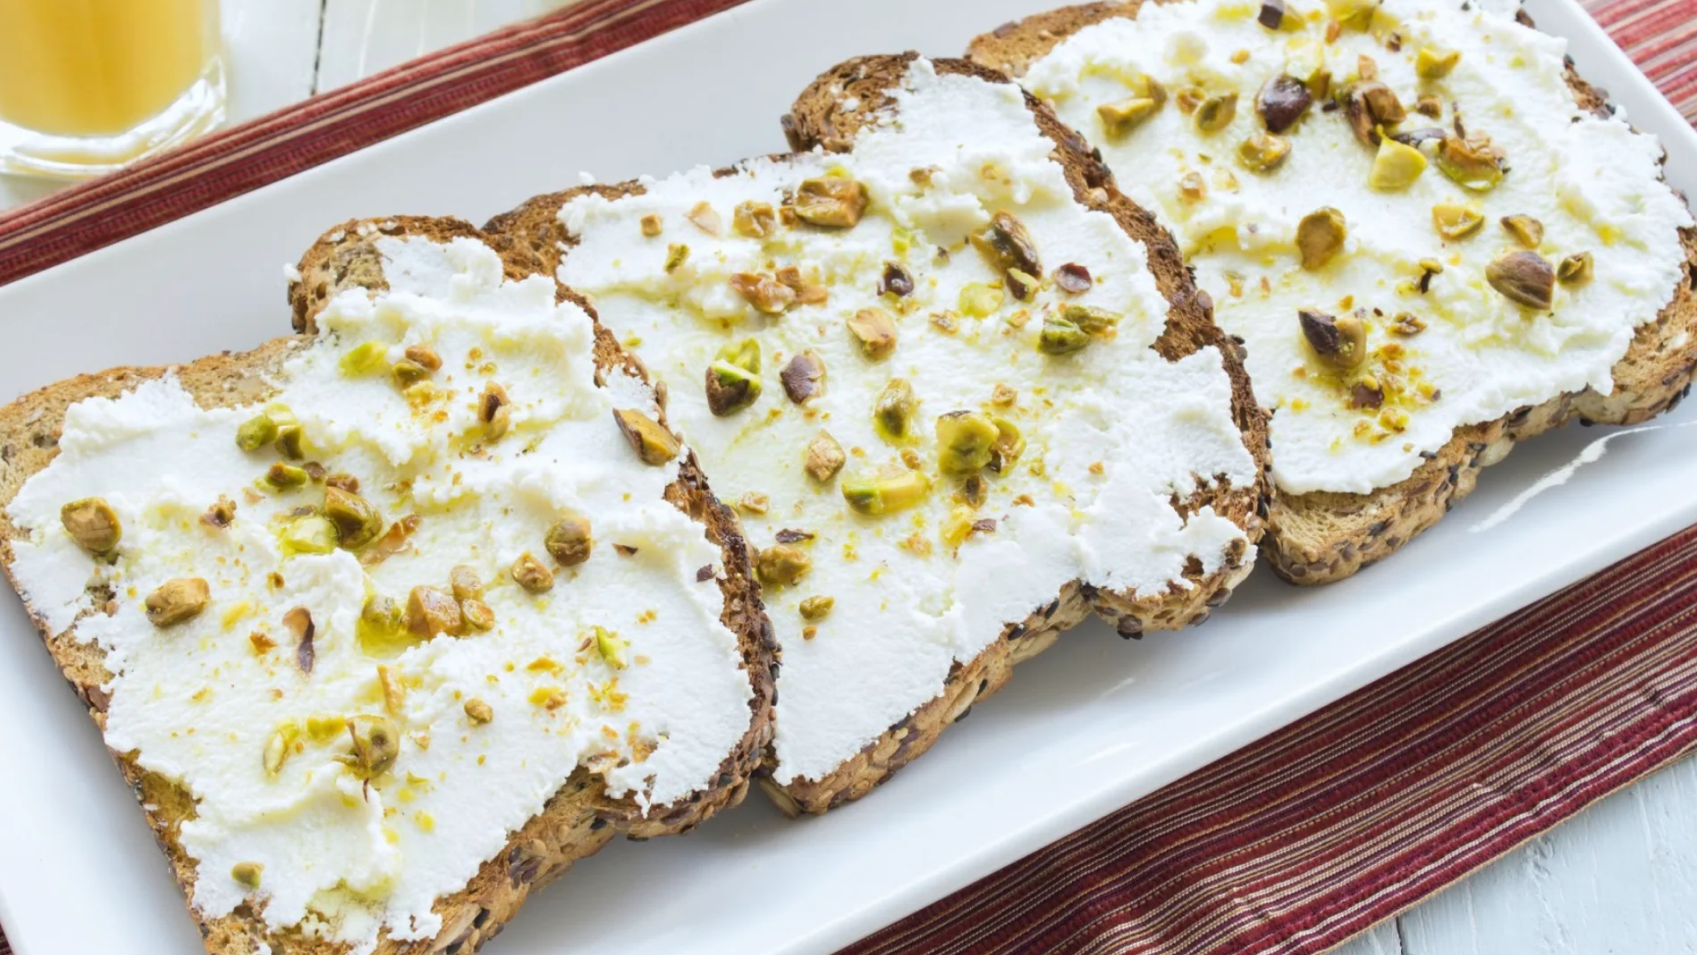
Homemade ricotta is easy to make, and its light, milky, mild taste is perfect accompaniment to summer’s grilled vegetables, salads and chilled soups and fruit. It goes perfectly into scrambled eggs and dips, spread on lightly toasted sourdough bread, and our favourite use, whipped into desserts. Use it to make ricotta pancakes, beef enchiladas, vegetarian lasagna, and open-faced appetizers like bruschetta with fig, spiced honey and prosciutto.
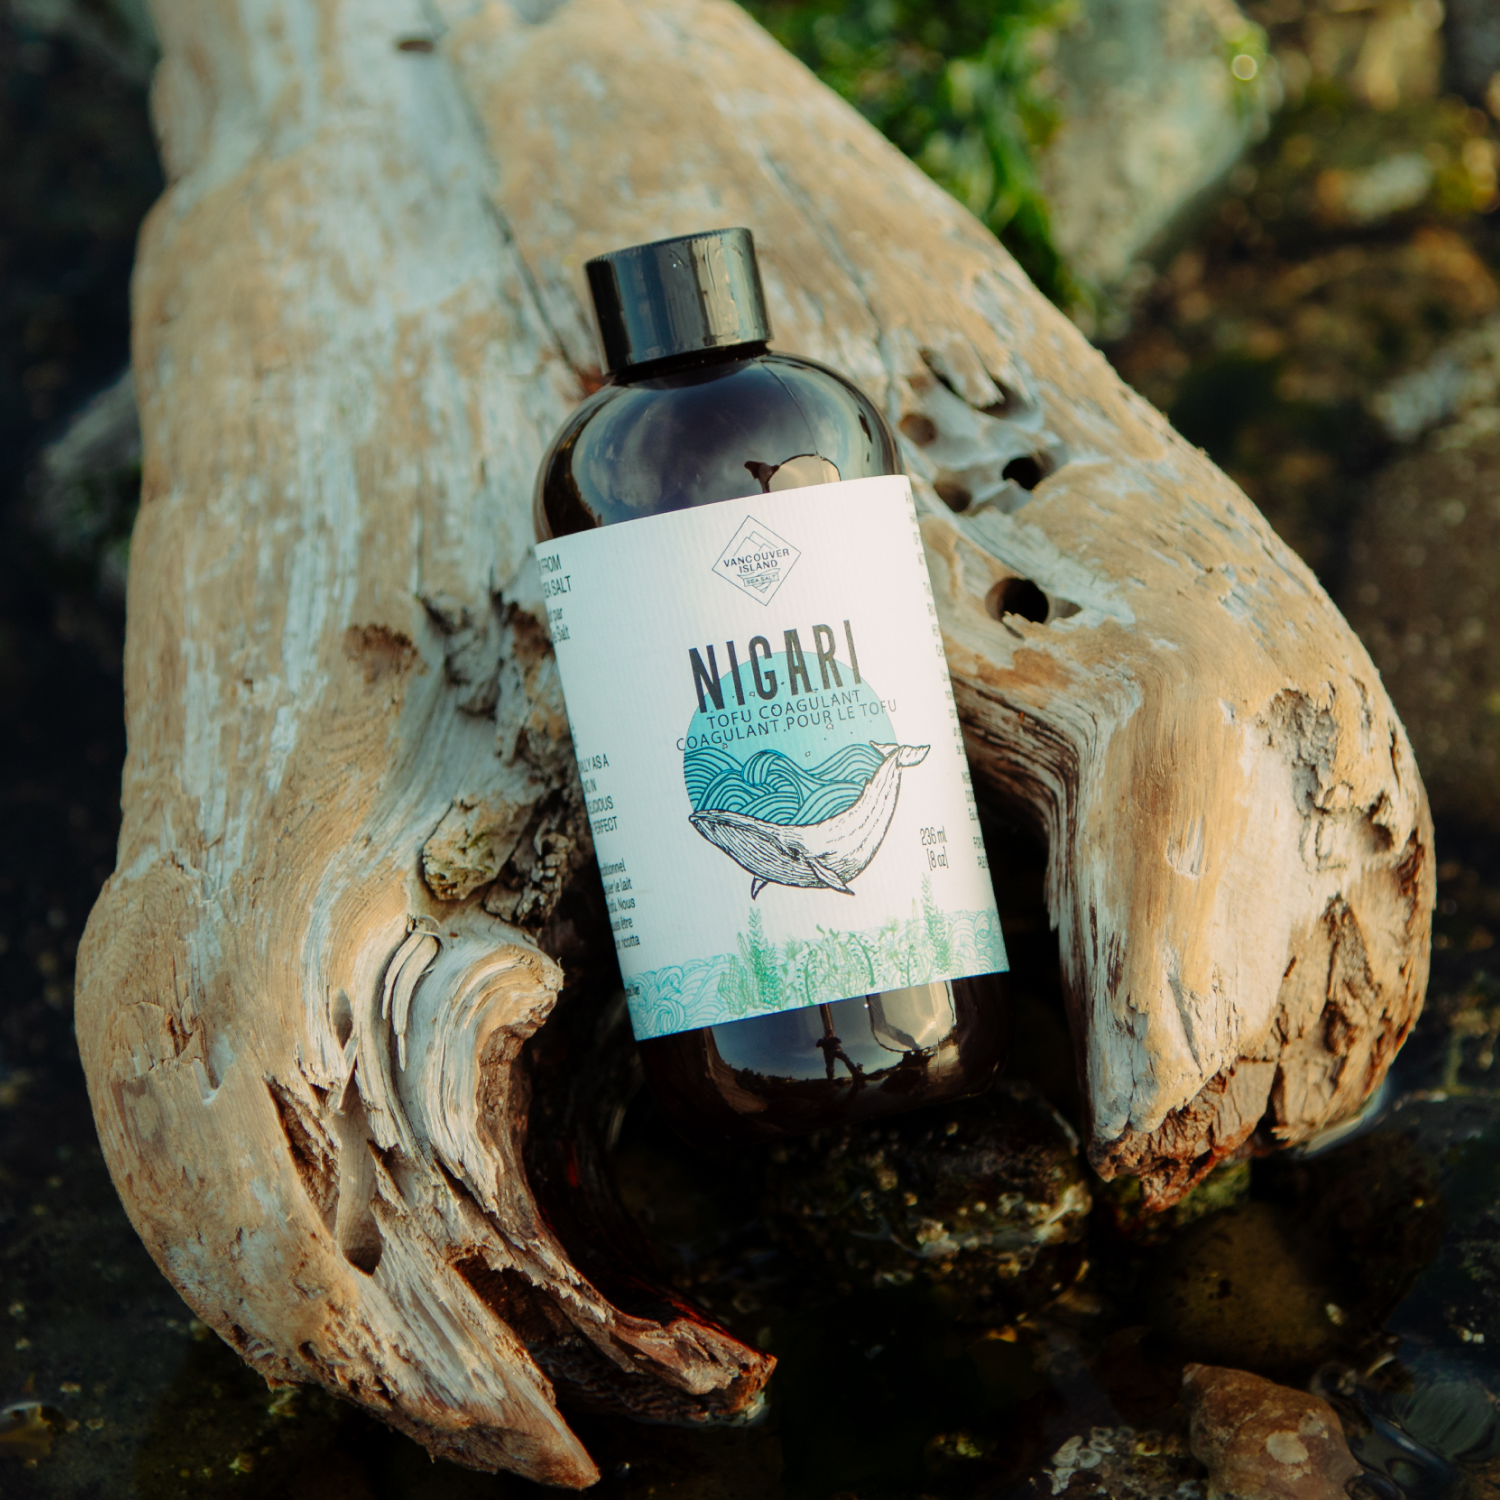
To make this fresh cheese, we used our liquid Nigari instead of lemon juice and the resulting flavour is a more pronounced fresh milk flavour, creamy without being too rich, with a fine texture and not grainy at all! The process is very similar to making tofu (recipe here), but the best part is that most of the cooking is really waiting time.
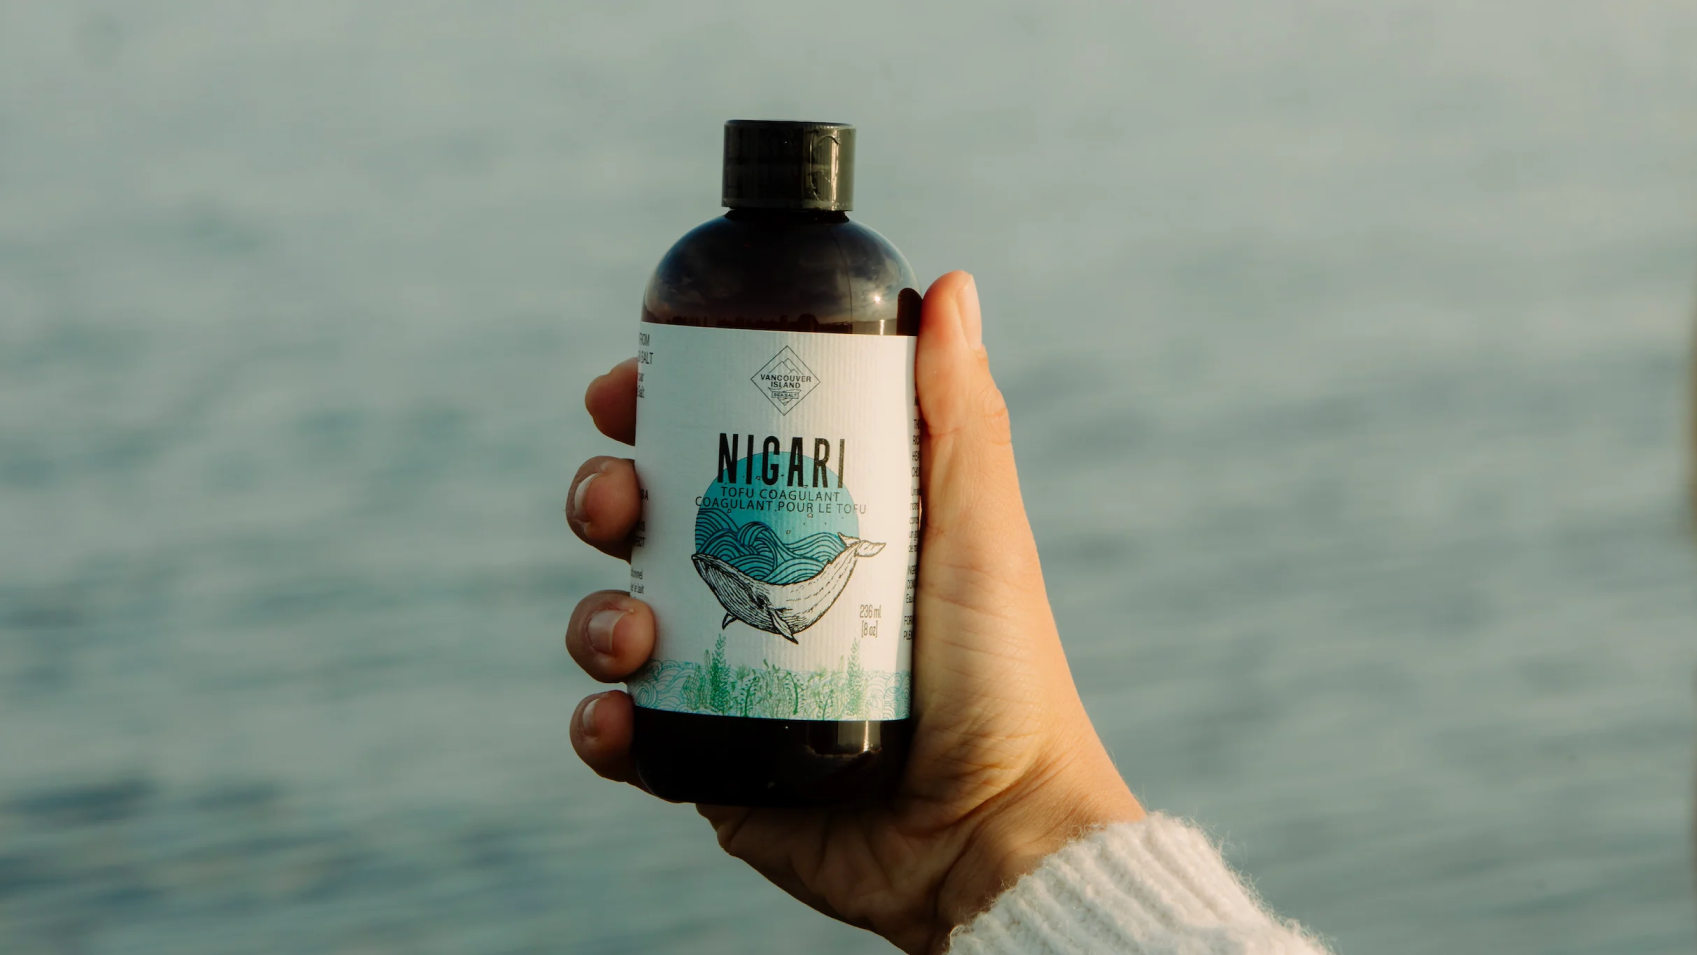
Ricotta, and its fresh cheese variations, is very easy to make, and the flavour and texture are so much better than store bought, especially when made with our all natural Liquid Nigari. Nigari is available in our online shop or in the US on Amazon.com. Read til the end to see how to make ricotta into paneer and queso fresco.
Ingredients
- Strainer with cheesecloth or yogurt strainer
- Large, heavy bottomed stainless steel pan
- Slotted spoon
- Measuring spoon
- 8 cups Fresh goat or cows milk (2 liter)
- 1.5 tsp Fine Sea Salt
- 3 tsp Nigari (1 tbsp), plus 1/4 tsp if needed
- ½ cup cream (optional) to replace equal amount milk
Equipment
Ingredients
Directions
Gently bring milk up to a boil over medium heat, stirring often to prevent scorching the milk. Depending on your stove, it could take 15-30 minutes to reach boiling point. Have your measuring spoon, nigari and fine sea salt ready.
The milk will start to foam and rise up towards the lip of the pot. Once it has risen almost to the edge, turn off the heat immediately.
Tip in 1.5 tsp of salt and 3 tsp (1 tbsp) nigari and swirl gently with a slotted spoon to mix it throughout the milk. You should see the curds (solid) separating from the whey (liquid) immediately.
Cover the pot and let it sit for 10 minutes to allow curds to fully separate. After resting, use your slotted spoon to remove the curds and place them in the cloth-lined strainer.
If the remaining whey is still very cloudy and/or yellowish, heat up the pot again to bring the liquid to a boil. You can add a ¼ to ½ tsp of nigari to help the second coagulation. Turn off heat once it boils and leave for 5 minutes before scooping out the rest of the curds.
Let the curds drain for 15 minutes for a creamy ricotta, up to an hour for a firmer texture.
Our yield is 2 cups (500 grams). Store in an airtight container and refrigerate. Consume within 5 days.
Recipe Note
- Update: we discovered that bringing the milk to a boil rather than just below boiling point (our old recipe called for 200F/94C) is the optimum way to coagulate the milk instantly. Just keep a close eye on the milk as once it starts to boil, it will quickly foam and rise to the top (which you want) but could also spill over (which you don’t want).
- You can add 1/2 – 1 cup of cream to increase the fat content of your milk (take away equal amount of milk to bring total back to 8 cups). This will result in a creamier ricotta. Omit this option for goat’s milk ricotta.
- To turn this ricotta into paneer style cheese, wrap the cheese in a lint-free towel and shape into a block (instead of straining). Place wrapped cheese in a tray to catch excess liquid, and place weight on top (like a small container half-filled with water). Pressing time is 15 minutes for a soft paneer, up to 1 hr for a firm paneer.
- For a farmer’s cheese/queso fresco style of cheese, we sprinkle extra salt before kneading the curds a bit, and then wrapping the curds with a lint-free cloth and placing it in a mold before letting it drain in the fridge overnight. We also like adding some chopped fresh herbs like rosemary and thyme into the curds to flavour the cheese.

